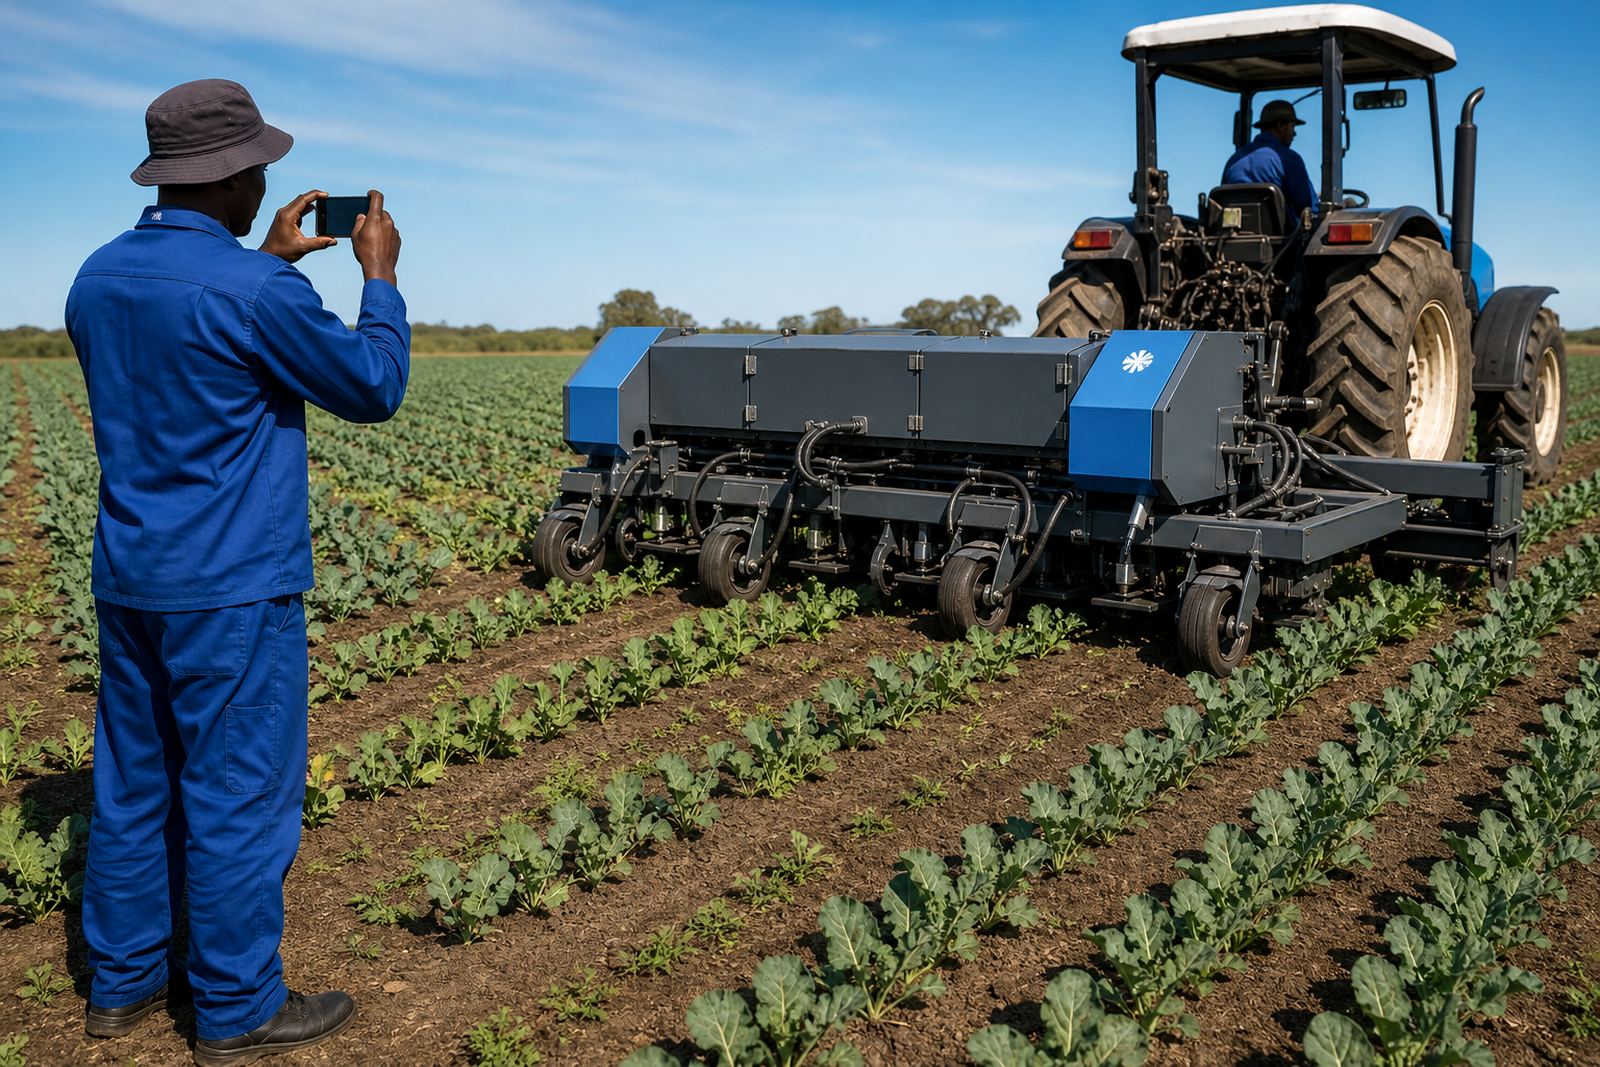
Open with one photo showing the whole block
A wide image gives the first read on row length, slope, irrigation lines and how the crop sits in the field. Step back far enough to show several rows at once, not only one plant or one patch of weeds. If the block has uneven ground, wet patches or tight turning space, that wider view helps us see it. A photo taken from the headland is usually useful because it shows the lane a tractor-drawn unit would use.
For distance enquiries, a wide shot is better than a neat close-up, because it shows the working shape of the block. If there are several fields on one farm, label each set of photos by block or section name. That saves guesswork when we map the season and field scheduling around the farm programme.
Close-ups that show crop stage and weed stage
We need to see the crop at the same scale as the weeds. Take a few close photos where the leaves, stems and row gaps are all visible together. On vegetable crops, timing matters, because laser weeding is usually planned when weeds are still at a stage that can be targeted cleanly. Tiny seedlings, larger broadleaf weeds and grass weeds all read differently in a picture.
It helps if the photo shows whether the crop is onions, carrots, lettuce, brassicas or another row crop. A plant at two true leaves is a very different job from a block that has already closed over the row. When the crop is not clearly visible, the picture tells us far less about practical timing.
- Include both crop plants and weeds in the same frame
- Keep the lens low enough to show the row gap
- Take one photo where the weeds are thin and one where they are thicker
- Show any plants that are damaged, missing or unevenly spaced
Show the row spacing and the ground underfoot
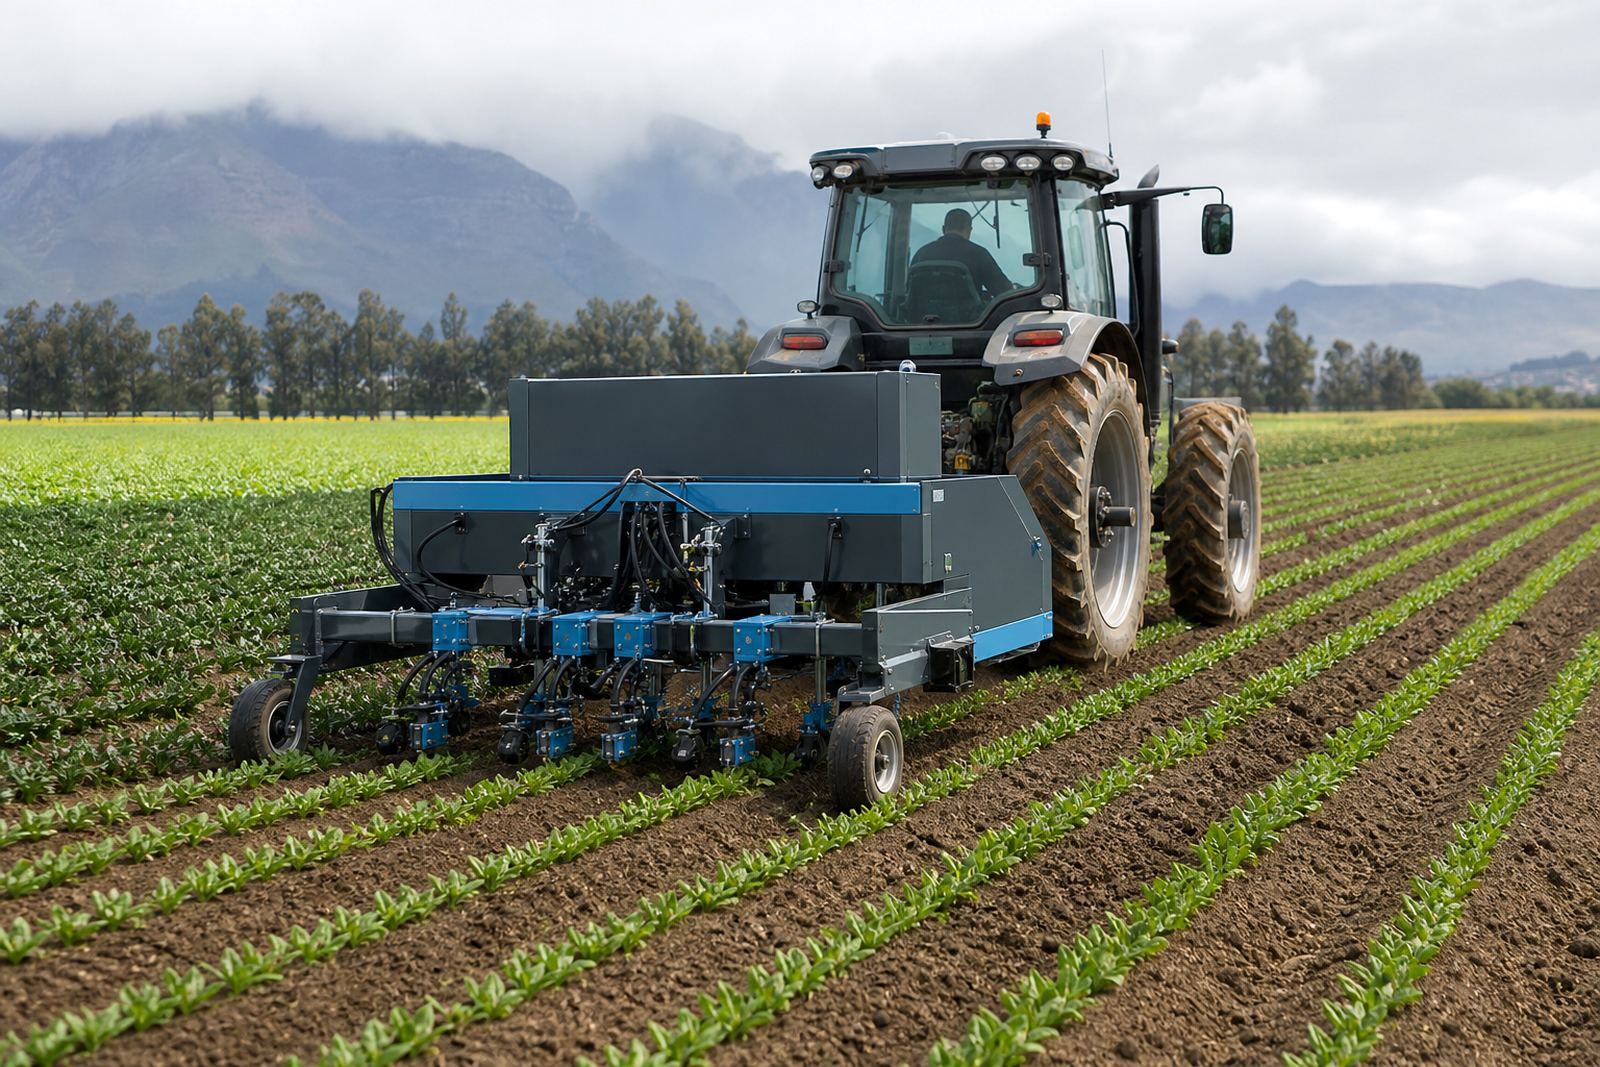
Laser units work from a tractor-drawn setup, so the space between rows matters. A photo looking straight down a row and another across the rows helps us judge working width and plant separation. If the crop was planted with plastic mulch, open furrows, raised beds or mixed row widths, please show that clearly. Soil texture also matters, especially where sandy ground, crusting or moisture can affect tractor travel.
A good picture of the ground underfoot can show whether there is standing water, loose sand, clods or compacted patches. Those details help with travel coordination and with planning the order of blocks. In coastal or humid areas around Cape Town, damp conditions can change how the field carries machinery, so a ground-level photo is useful.
Photos that help with access and arrival checks
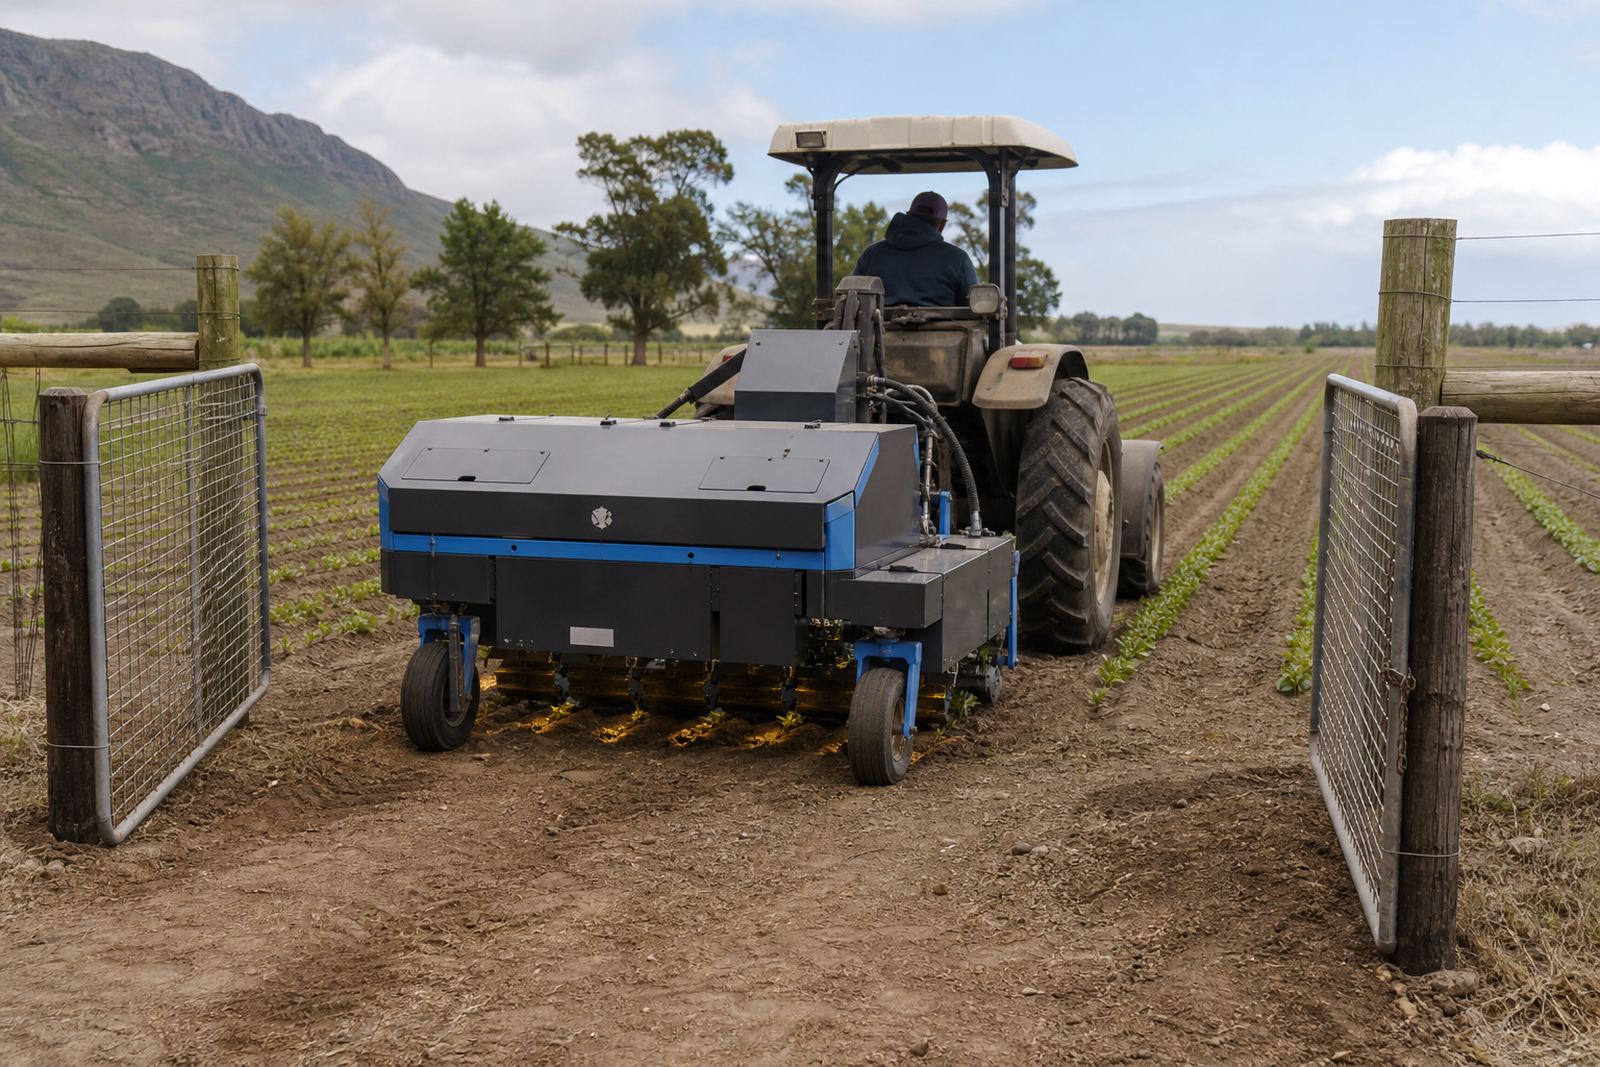
Access photos are not about scenery, they are about movement. A picture of the gate, farm road, turning point and the entrance to the block helps us see how the unit and support vehicle will reach the field. If the route has low branches, narrow openings, soft shoulders or sharp bends, please capture those points too. A clear image of the loading or parking area is useful when the block sits far from the main yard.
When you send a first enquiry from a distance, include the route into the farm if it is simple to photograph. That helps us understand whether the visit suits the current field layout and the planned farm work. For growers with several sites, one photo set per location keeps the notes clean and practical.
- Gate and road into the farm
- Turning space near the block
- Any narrow bridge, bank or low entrance
- Place where equipment can wait without blocking field work
Mark the block details in the frame
A photo is more useful when it carries context. If you can include a whiteboard, notebook page or printed note in the picture, write the block name, crop type and date of the photo. Even a simple field label written on paper helps. That way, the images are easier to sort when there are several crops on one farm or several farms in one programme.
We also find it useful when the photo shows the stage of the crop in relation to the weed flush. One block may be ready for a trial strip run while another is better suited to a later pass. Clear labels reduce confusion when planning repeat pass timing, season bookings or multi farm work across the Western Cape, Limpopo, Mpumalanga, KwaZulu-Natal and the Free State.
A short checklist before you upload the set
Before you send photos through our contact form, look for gaps in the set. A few well chosen pictures are better than a large batch with no clear reference points. Try to cover the crop, the weeds, the rows and the access route. If possible, include one image in bright light and one in softer light, because shadows can hide the weed stage or the row gap.
- One wide block view
- Two or three close crop shots
- One photo showing weed pressure in the row
- One access or turning photo
- Labels for crop, block and date
If the farm has several sections in Philippi, Ceres, Grabouw, Tzaneen, Bela-Bela, Nelspruit, Howick or Bethlehem, send them as separate sets where possible. That makes field assessments, crop timing plans and trial strip runs easier to discuss without mixing one block with another.
What a clear photo set tells us
Useful photos let us read the basics before any field work is planned. We can see whether the crop is open enough for laser targeting, whether weed pressure is still at a workable stage, and whether the ground looks fit for a tractor-drawn unit. We can also see if a block needs a first pass, a repeat pass or a trial strip run before the rest of the farm is scheduled.
That is the point of the photo set: not polished pictures, just honest field views. Send the clearest shots you have, and keep them focused on the crop, the weeds and the route into the block. The more the pictures show, the better the notes can guide field scheduling, operator supply and post pass reporting.